Cómo Cuidar su Medidor

Welcome to the 4iiii Family!

You’re just a few steps away from unlocking your full potential. Whether you’re training for your next race or simply looking to have more fun with friends, your new 4iiii power meter is the key to training smarter and riding faster.

Benefits of a Power Meter

Objective Data and Progress Tracking

Power meters offer accurate and objective data on your effort, removing the uncertainty linked to perceived exertion or heart rate. They allow you to assess improvements in endurance, speed, and performance over time.

Pacing Strategy and Efficient Training

Real-time power data is essential for maintaining a consistent effort during races or long rides. Power meters allow you to set specific power targets, enabling focused training within precise zones.

Customized Training and Avoiding Overtraining

Real-time monitoring of power output helps prevent overtraining, ensuring that workouts remain within optimal effort levels. This allows for customized training plans, tailored to individual goals, such as increasing endurance thresholds, and/or improving sprinting power.

In short, power meters provide valuable insights that help cyclists train smarter, stay on target, and achieve their fitness goals efficiently.

Reinstalling Your Crank

Let’s get your power meter on your bike so you can get back to the fun part, riding!

Installation

  • The steps to install your crankset can vary between models. Follow the manufacturer’s instructions, or consult your local bike mechanic for assistance.

    Shimano Instructions


    IMPORTANT: After installing the crankset please spin it by hand and ensure clearance between your frame and the power meter pods on the drive and non-drive side. If there is contact between either power meter and your frame, please contact us at support@4iiii.com and do not ride your bike at the risk of damaging your power meter or frame.

Getting Started on the 4iiii App

The 4iiii App is designed to help you get the most out of your power meter experience, and keep you up to date with watts happening!

PRECISION 3+ - Single-Sided Power

  • Connecting to the 4iiii App

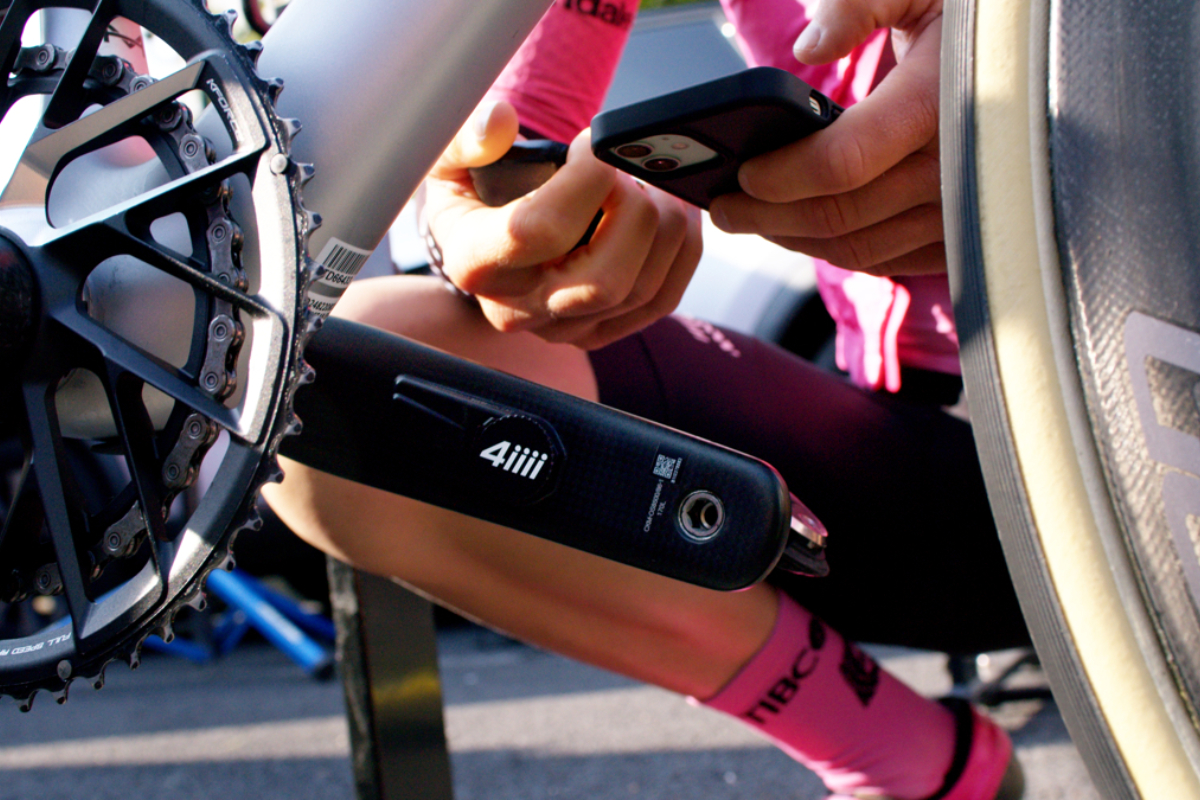
    1. Wake up PRECISION 3+ by rotating the crank 3-4 times.

    2. Select ‘Add device’.

    3. Select your power meter and press ‘Pair’.

    4. Perform any firmware updates.

    Performing a Zero Offset (Calibration)

    1. Hold the bike upright and stationary.

    2. Wake up PRECISION 3+ by rotating the crank 3-4 times and position the crank arms at 12 and 6 o’clock, with the non-drive side crank arm down.

    3. Select ‘Zero’ on your app.

PRECISION 3+ PRO - Dual-Sided Power

  • Connecting to the 4iiii App

    1. Wake up PRECISION 3+ PRO by rotating the crank 3-4 times.

    2. Select ‘Add Device’.

    3. Select both your power meter pods at the same time and press ‘Pair’. Selecting both before pressing ‘Connect’ will automatically link them together as a dual.

    4. Perform any firmware updates.

    Performing a Zero Offset (Calibration)

    1. Hold the bike upright and stationary.

    2. Wake up PRECISION 3+ PRO by rotating the crank 3-4 times and position the crank arms at 12 and 6 o’clock, with the non-drive side crank arm down.

    3. Select ‘Zero’ on your app.

Apple Find My

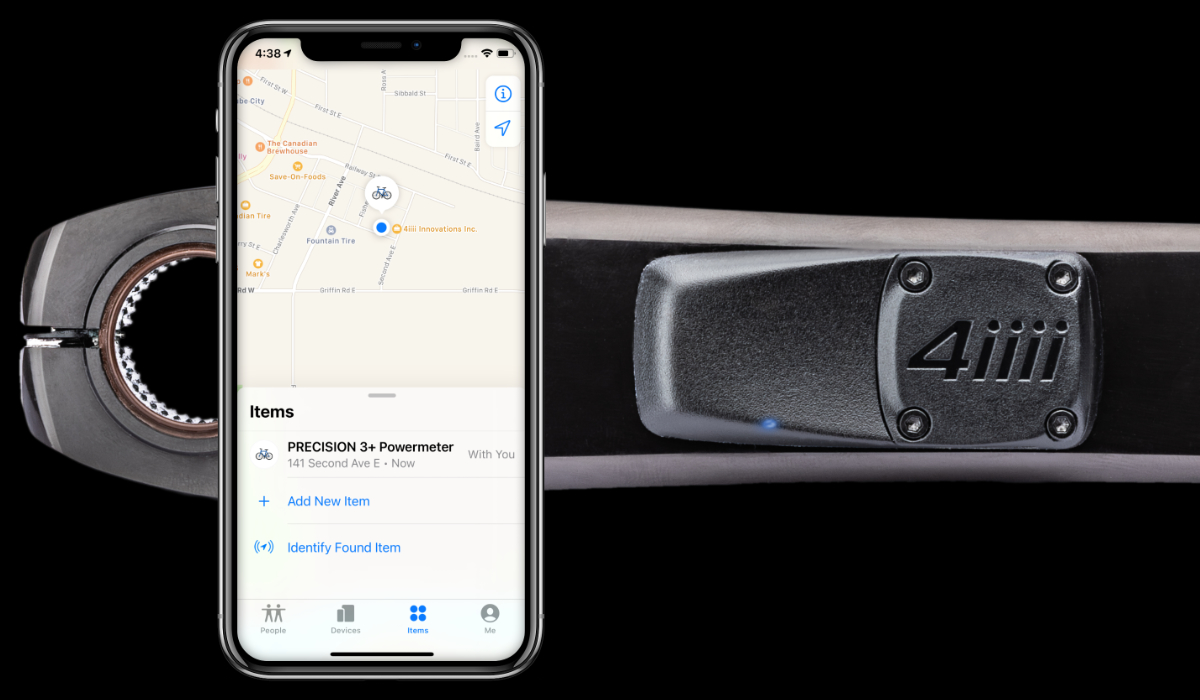
The Apple Find My feature is unique to 4iiii power meters, and provides an easy, secure way to locate your power meter on a map using the Find My app on your iPhone, iPad, iPod touch, or Mac. Peace of mind has never been so convenient!

Setup

  • Note for Duals: Apple Find My is located in the Non-Drive Side pod only.

    1. Enter your Non-Drive Side Pod Into Find My Pairing Mode by removing and replacing the battery three times (×3), it will then start flashing blue. The pod will remain in this mode for 10 minutes or until the setup is complete.

    2. Open the Apple Find My app on your iPhone, iPad, iPod touch, or Mac and tap on ‘Items’ in the bottom banner.

    3. Tap on ‘Add Item’ or the ‘+’. This screen changes depending on if you have another device already connected to the Apple Find My app or not.

    4. Then tap on ‘Other Supported Item’ or ‘Add Other Item’. Again, this screen depends on if you already have another device connected.

    5. The Apple Find My app will then search for nearby devices. You should see your 4iiii power meter popup, click ‘Connect’.

    6. Next, simply give your power meter a name and emoji and you are all set up!

    Tip: Your power meter pod will not start sending its location until it has been out of use for 4 minutes. Any movement of the pod will trigger the gyroscope and switch the pod back from Find My mode to power meter mode.

Head Units & Cycling Computers

Connecting and setting up your choice of cycling computer/head unit will allow you to see just how powerful you are.

Connection & Zero Offset

  • Connect to your Power Meter

    1. Spin the crank 3-4 times to wake up your power meter.

    2. Turn on your head unit and pair it with your power meter using ANT+ or Bluetooth.

    3. Navigate to the ‘Sensors’ menu on your head unit.

    4. Add your power meter.

    Note: If you have a dual-sided power meter you must first pair the two pods using the 4iiii app.

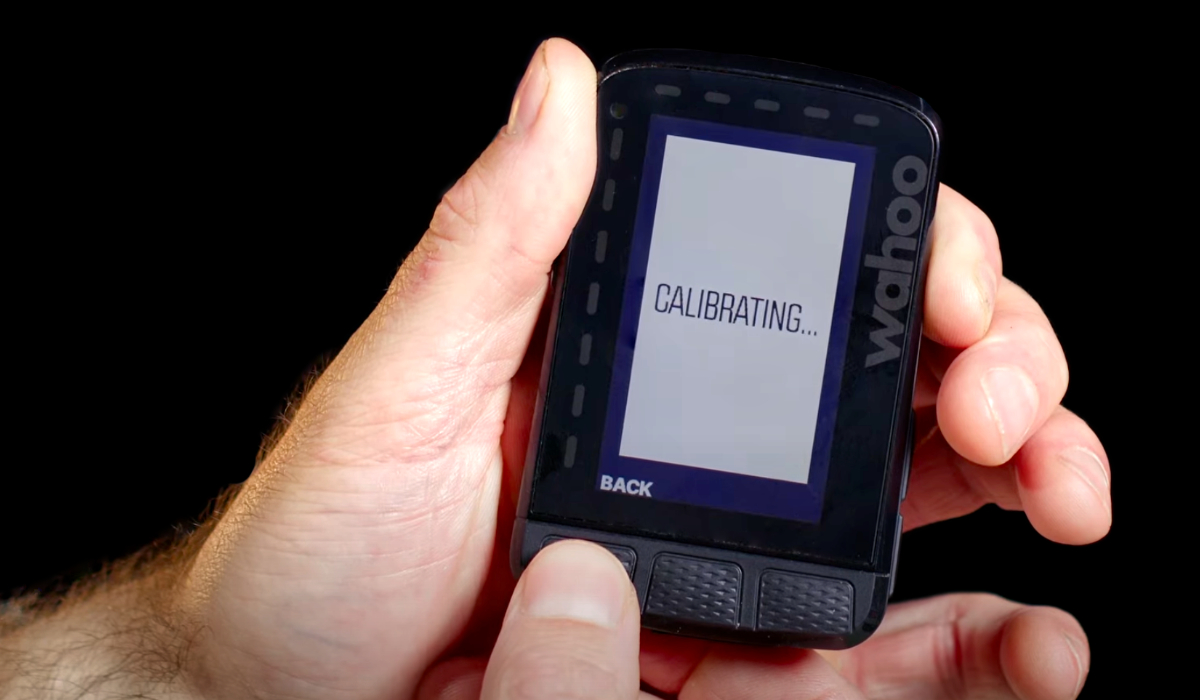
    Perform a Calibration (Zero Offset)

    1. Place your crank arms at 12 and 6 o’clock, with the non-drive side crank arm down. Hold the bike stable and upright.

    2. Select your power meter then click ‘Calibrate’.

    3. A successful calibration on a single-sided power meter will result in a code 10, with a dual-sided power meter set you will see code 1010.

    Tip: If you do not receive a successful code try updating your firmware and make sure your cranks are in the correct position and the bike is stable before trying again.

Caring for Your Power Meter

“Take care of your equipment, and it will take care of you,” a motto to live by!

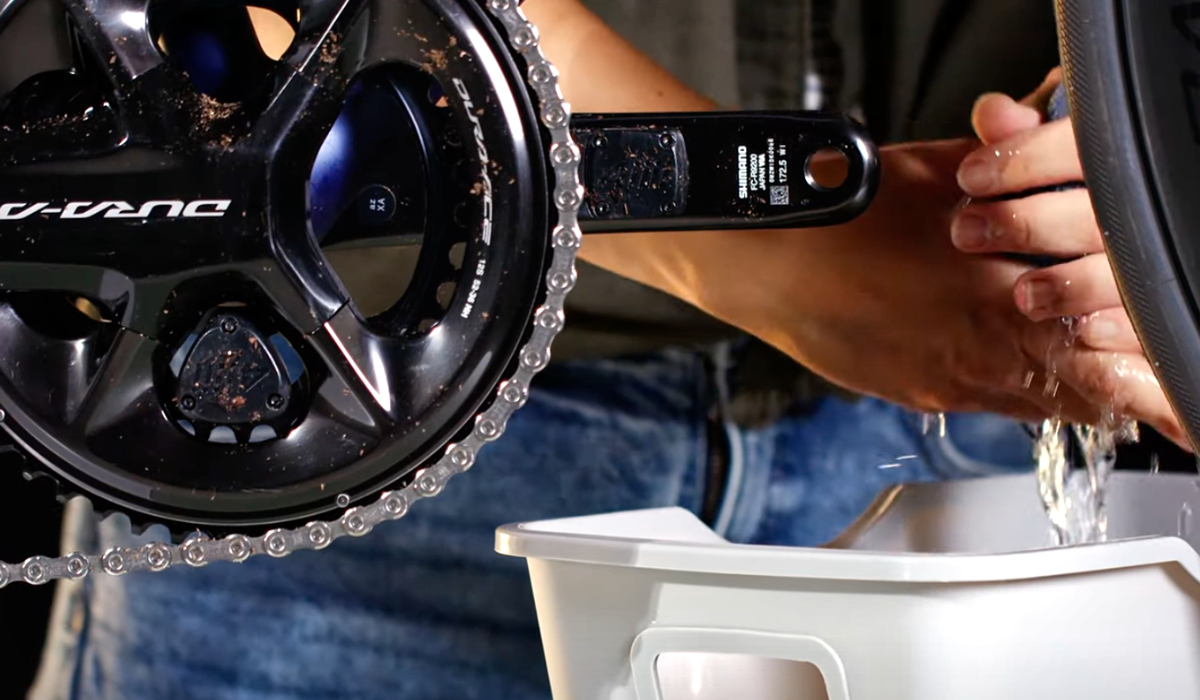
Cleaning

    1. Prepare a mixture of warm water and a mild soap to clean your crank set.

    2. Using a soft rag soaked in the mixture wipe down your power meter and cranks.

    3. Wipe the pods using a dry cloth.

    • DO NOT expose the power meter to degreasers, or abrasive/corrosive cleaning agents.

    • DO NOT pressure wash your power meters.

    • DO NOT have liquids near the power meters when the caps are off for maintenance.

Battery Replacement

  • Replacement CR2032 batteries can be purchased wherever batteries are sold. We recommend avoiding batteries with a bitter coating as it has been shown in tests to be non-conductive which can lead to connection problems or dropouts with your 4iiii power meter.

    Non-Drive Side

    1. Threaded Cap: Twist the cap counterclockwise to remove it. Do not pry the cap. Screw Cap: Using the provided 2mm allen key, loosen the four screws by turning counterclockwise, they will remain attached to the cap.

    2. Remove the old battery from the cap by holding the cap by its edges and tapping it against a hard surface.

    3. Place the new battery into the cap with the ‘+’ symbol facing the battery cap.

    4. Threaded Cap: Replace the cap and twist it clockwise to secure it.
      Screw Cap: Replace the cap and tighten the screws.

    Drive Side

    1. Loosen the three screws by turning counterclockwise, the screws will remain attached to the cap. Depending on your cap you will either need a #1 Phillips screwdriver or will have been provided with a 2mm Allen key.

    2. Remove the old battery.

    3. Place your new battery into the battery compartment with ‘+’ facing outwards towards you.

    4. Reinstall the battery cap and tighten the three screws in place.

    Tip: Check the condition of the rubber seal on the battery cap when replacing your battery. To ensure a watertight seal, keep the seal lubricated with silicone grease. Replacement battery covers are available here.

Additional Help

Update for US Customers — Reese’s Law

Elige tu Región: